Installing VMware Tools can significantly enhance the performance and functionality of a Linux virtual machine. However, the installation process through the Linux command line is not as straightforward as simply clicking a few buttons in Windows.
Preparation Steps
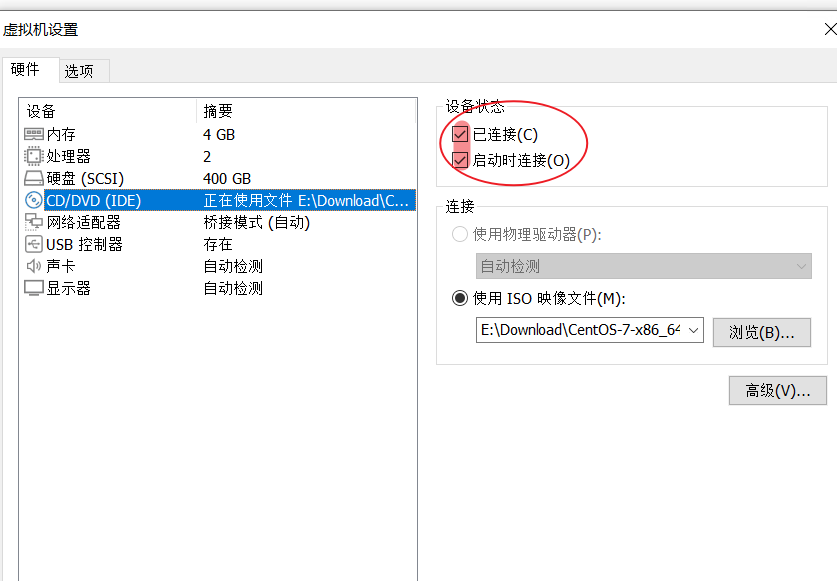
Before installation, you need to check the virtual machine settings. Select the CD option and make sure both checkboxes are checked. Use the command yum install -y perl for CentOS, or apt install perl for Ubuntu.
Installation Process
- Open the VMware virtual machine and select “VM” from the menu, then choose “Install VMware Tools.”
- Wait for a few seconds while the ISO file for VMware Tools is mounted in the virtual machine.
- Execute the following commands to mount the CD:
mkdir /mnt/cdrommount /dev/cdrom /mnt/cdromThen executels /mnt/cdromto check if files are present.
- Since the mount is read-only, copy the installation package out before extracting it:
cp /mnt/cdrom/VMwareTools-*.tar.gz /tmpcd /tmptar -zxvf VMwareTools-*.tar.gz
- Navigate to the extracted directory and run the installation program:
cd vmware-tools-distribsudo ./vmware-install.pl
- Follow the prompts for installation, accepting the default options. Generally, you can just press “yes” and hit Enter to accept the defaults. In the first interaction, you will need to type “yes.”
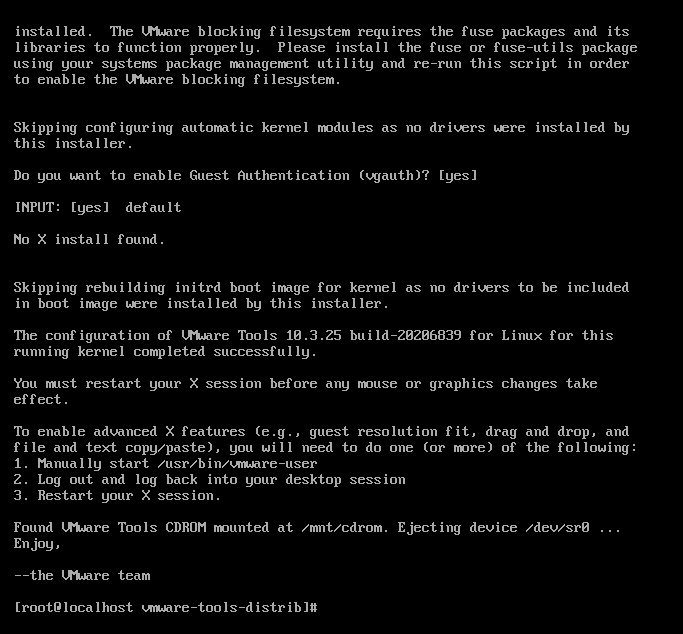
Reboot to Apply Changes
Once the installation is complete, you will need to reboot the virtual machine for VMware Tools to take effect. Run the following command to reboot:
reboot