
To enable SSH remote login access on Ubuntu 20.04, you can follow these steps:
- Open the terminal (command line interface).
- Ensure that the OpenSSH server package is installed on your system. Run the following command to install it:
sudo apt update && sudo apt install openssh-server. - Once the installation is complete, the SSH service will start automatically. You can check the status of the SSH service with the following command:
sudo systemctl status ssh. If the service is running, you should see “active (running)” in the output. - (Optional) If your system uses UFW (Uncomplicated Firewall), you can allow SSH connections through the firewall by running the following command:
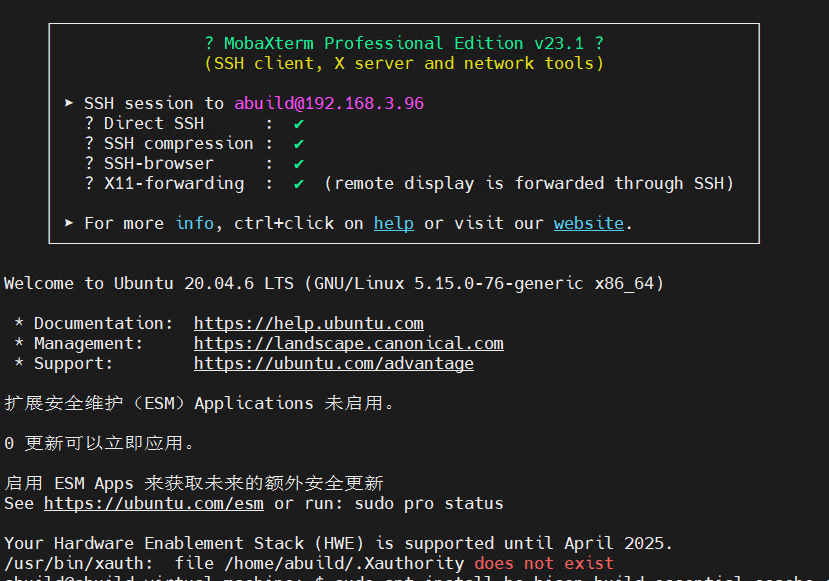
sudo ufw allow ssh. - Now, you can use an SSH client on another computer to remotely log into your Ubuntu 20.04 machine. Open your SSH client and provide the IP address or hostname of your Ubuntu 20.04 machine. For example, if your Ubuntu 20.04’s IP address is 192.168.1.100, you can connect to it with the following command:
ssh [email protected], replacing “username” with a valid username on your Ubuntu 20.04 system. - The first time you connect, you may be prompted to confirm the fingerprint. Type “yes” to confirm the connection.
- Enter your user password to complete the remote login.
With this, you have successfully enabled SSH remote login access and can connect to your Ubuntu 20.04 machine using an SSH client. Make sure to take necessary security measures when using SSH over public networks, such as using a strong password or configuring key-based authentication.