
When using Visual Studio Code (VSCode) on an Ubuntu system, you can change the interface language as needed. Here are the detailed steps.
Step 1: Open the Command Palette
- Launch VSCode.
- Press
Ctrl + Shift + P, or select View > Command Palette… from the top menu to open the Command Palette.
Step 2: Select “Configure Display Language”
- Type
Configure Display Languageinto the Command Palette and hit Enter. - In the pop-up language list, find and select the language you want to switch to, such as Simplified Chinese (
zh-CN) or English (en). If you do not find the desired language pack, follow the additional steps below.
Step 3: Restart VSCode
After changing the language, VSCode will prompt you to restart the application. You can also manually close and reopen VSCode to apply the new settings.
Additional Steps: Install Language Packs (if needed)
If you cannot find the desired language, you’ll need to install the corresponding language pack first.
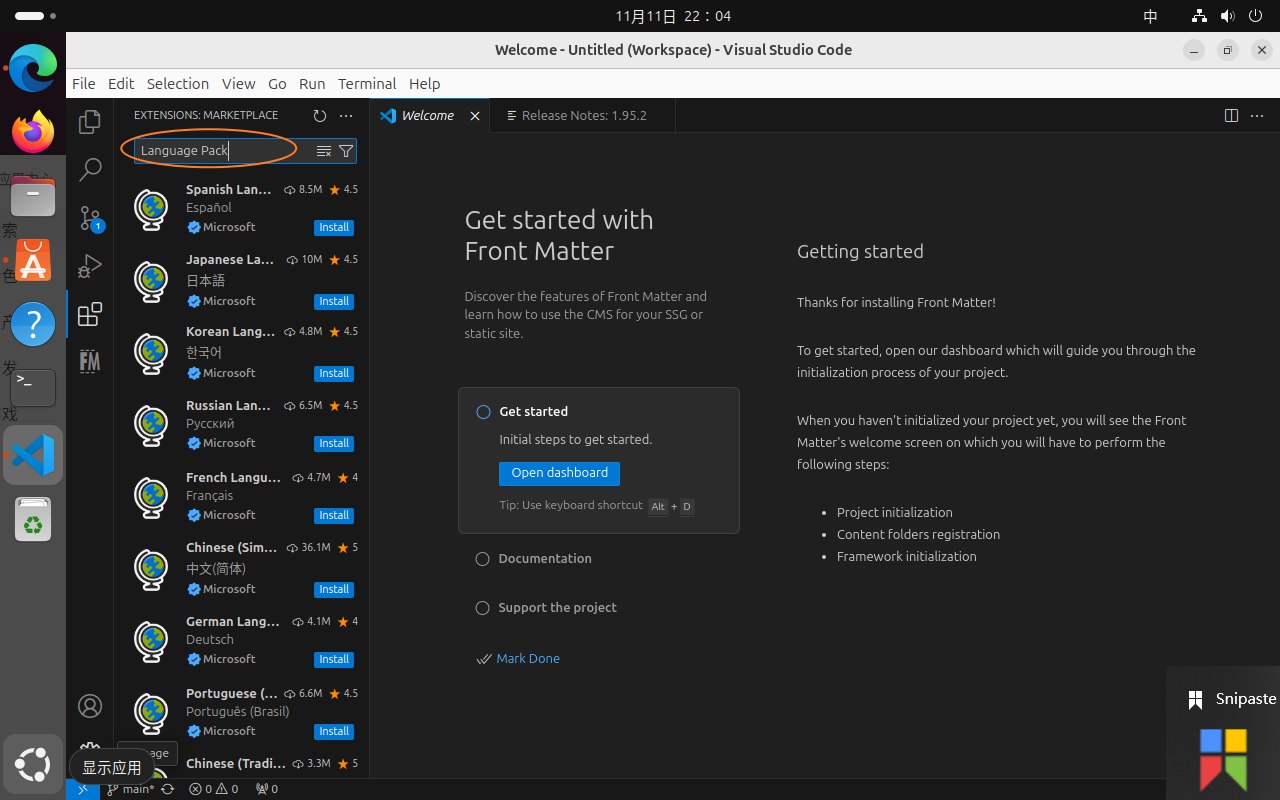
- Open the Extensions view by pressing
Ctrl + Shift + X, or by clicking the Extensions icon in the sidebar. - Search for “Language Pack” and install the relevant language pack (for example, “Chinese (Simplified) Language Pack for Visual Studio Code”).
- Once the installation is complete, go through the above steps again to switch the language.
After completing these steps, VSCode will switch to the interface language you selected.