
Installing the lm-sensors tool makes it easy to read sensor information and monitor hardware temperatures, including those of the CPU and hard drive. Here are the general steps to install lm-sensors on a Linux system:
- Open the terminal (command line interface).
- Check if
lm-sensorsis already installed on your system by running the following command:sudo sensors-detect --version. If you see a message indicating that thesensors-detectcommand does not exist, it meanslm-sensorsis not installed on your system. - Install
lm-sensorsusing your package manager. Different Linux distributions use different package managers, so choose the appropriate command for your distribution:- For Debian or Ubuntu systems:
sudo apt-get install lm-sensors - For CentOS or RHEL systems:
sudo yum install lm_sensors - For Arch Linux systems:
sudo pacman -S lm_sensors
- For Debian or Ubuntu systems:
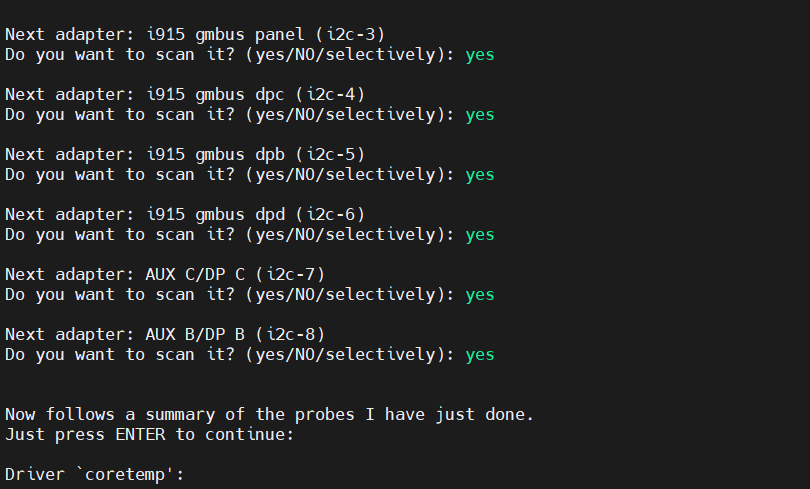
- After installation is complete, run the following command to configure it:
sudo sensors-detect. This command will scan your system and detect supported sensor devices. - During the configuration process, you will be prompted with a series of questions. You can simply press the Enter key to accept the default settings or configure it according to your needs. Note: When asked “Do you want to add these lines automatically to /etc/modules? (yes/NO)”, select “yes” to ensure the sensor modules load automatically at system startup.
- Once configuration is complete, run the following command to update sensor information:
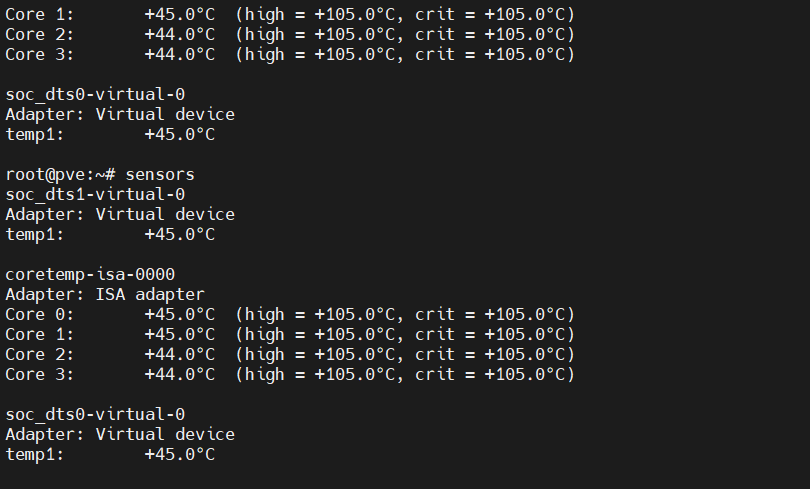
sudo sensors-detect --auto. - Now you can run the following command to view sensor information and temperatures:
sensors. The output will display the actual temperatures of various sensor devices in your system.
With this, you have successfully installed lm-sensors and configured the sensors. You can run the sensors command anytime to check hardware temperatures. Please remember to run the relevant commands with administrative privileges (using sudo).