Preparation Steps
- Install Dependencies
|
|
- Install Postfix
|
|
If you’re using it on an internal network, you might consider disabling the firewall, which can save a lot of hassle. For guidance, you can refer to this CentOS Firewall Disabling Tutorial.
- Download the GitLab Installation Package
Here, we are using the Tsinghua University mirror in China to download the RPM package.
GitLab CE installation package URL: https://mirrors.tuna.tsinghua.edu.cn/gitlab-ce/yum/el7/
GitLab EE installation package URL: https://mirrors.tuna.tsinghua.edu.cn/gitlab-ee/yum/el7/
For example, to download the latest version:
|
|
Installation
The command to install GitLab is: rpm -i gitlab-ee-15.9.8-ee.0.el7.x86_64.rpm
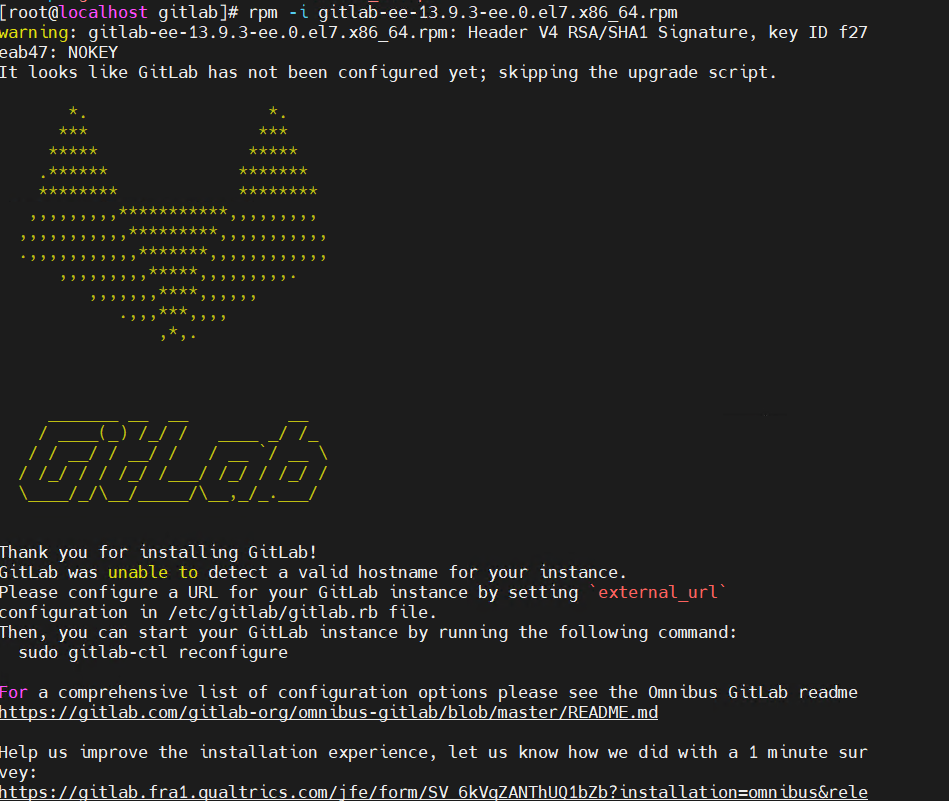
If you see the above interface, the installation is complete.
Configuring GitLab
After the installation is complete, you need to configure GitLab to ensure it runs properly. This can be done by editing the /etc/gitlab/gitlab.rb file.
Some important configuration options include:
external_url: The URL for GitLab, defaulting tohttp://localhost.gitlab_rails['smtp_enable']: Enable SMTP email functionality.gitlab_rails['smtp_address']: The SMTP server address.gitlab_rails['smtp_port']: The SMTP server port number.gitlab_rails['smtp_user_name']: The SMTP email account.gitlab_rails['smtp_password']: The SMTP email password.gitlab_rails['smtp_domain']: The SMTP email domain.gitlab_rails['smtp_authentication']: The SMTP authentication method.gitlab_rails['smtp_tls']: Enable SMTP TLS encryption.
Once you’ve made the necessary configurations, save the file and execute the following command to apply the changes:
|
|
Accessing GitLab
Enter the GitLab URL in your browser to access the GitLab website. Upon first access, you will need to set up the admin account and password.
At this point, the installation process for GitLab is complete. You can start creating projects, managing versions, and collaborating on development within GitLab.